Testing site features
Let's now try out some features of your course site. Go ahead and open the site from the URL provided by Netlify i.e. https://[your site].netlify.app.
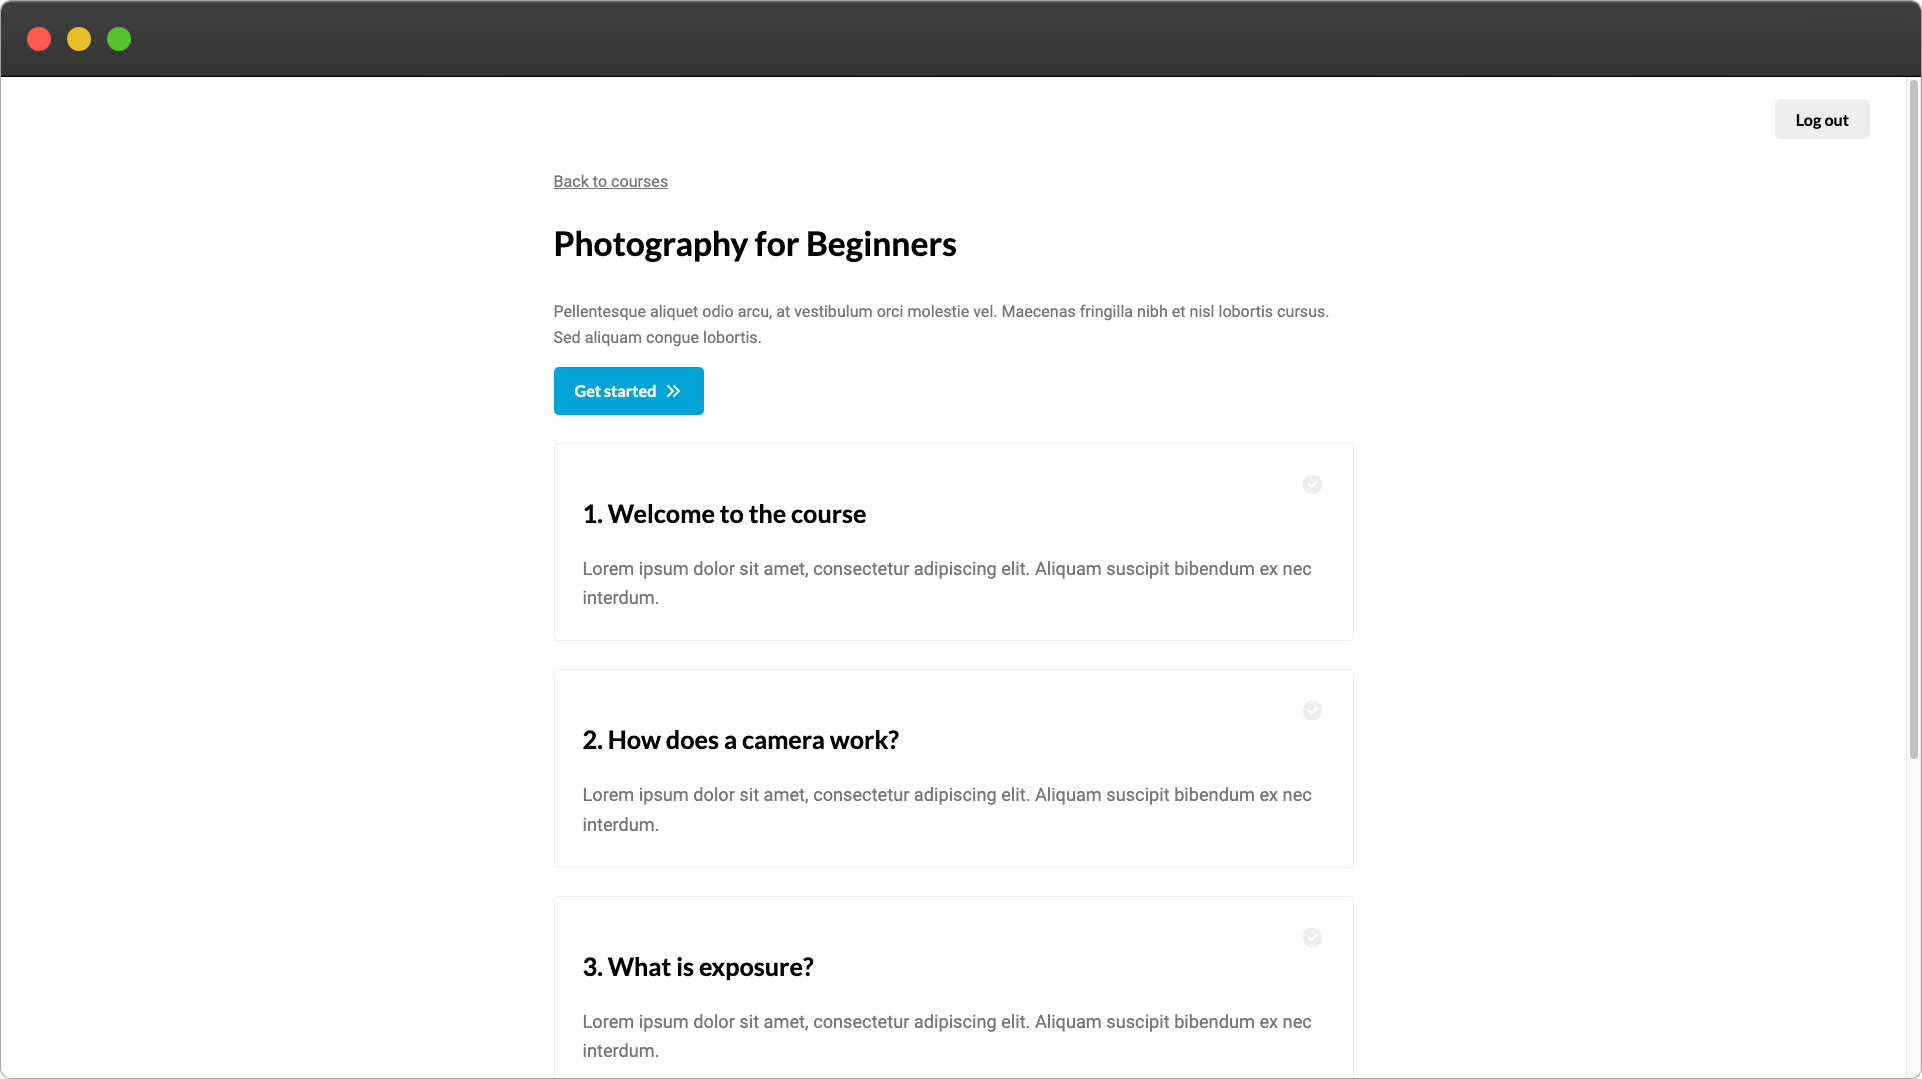
It should look something like this:
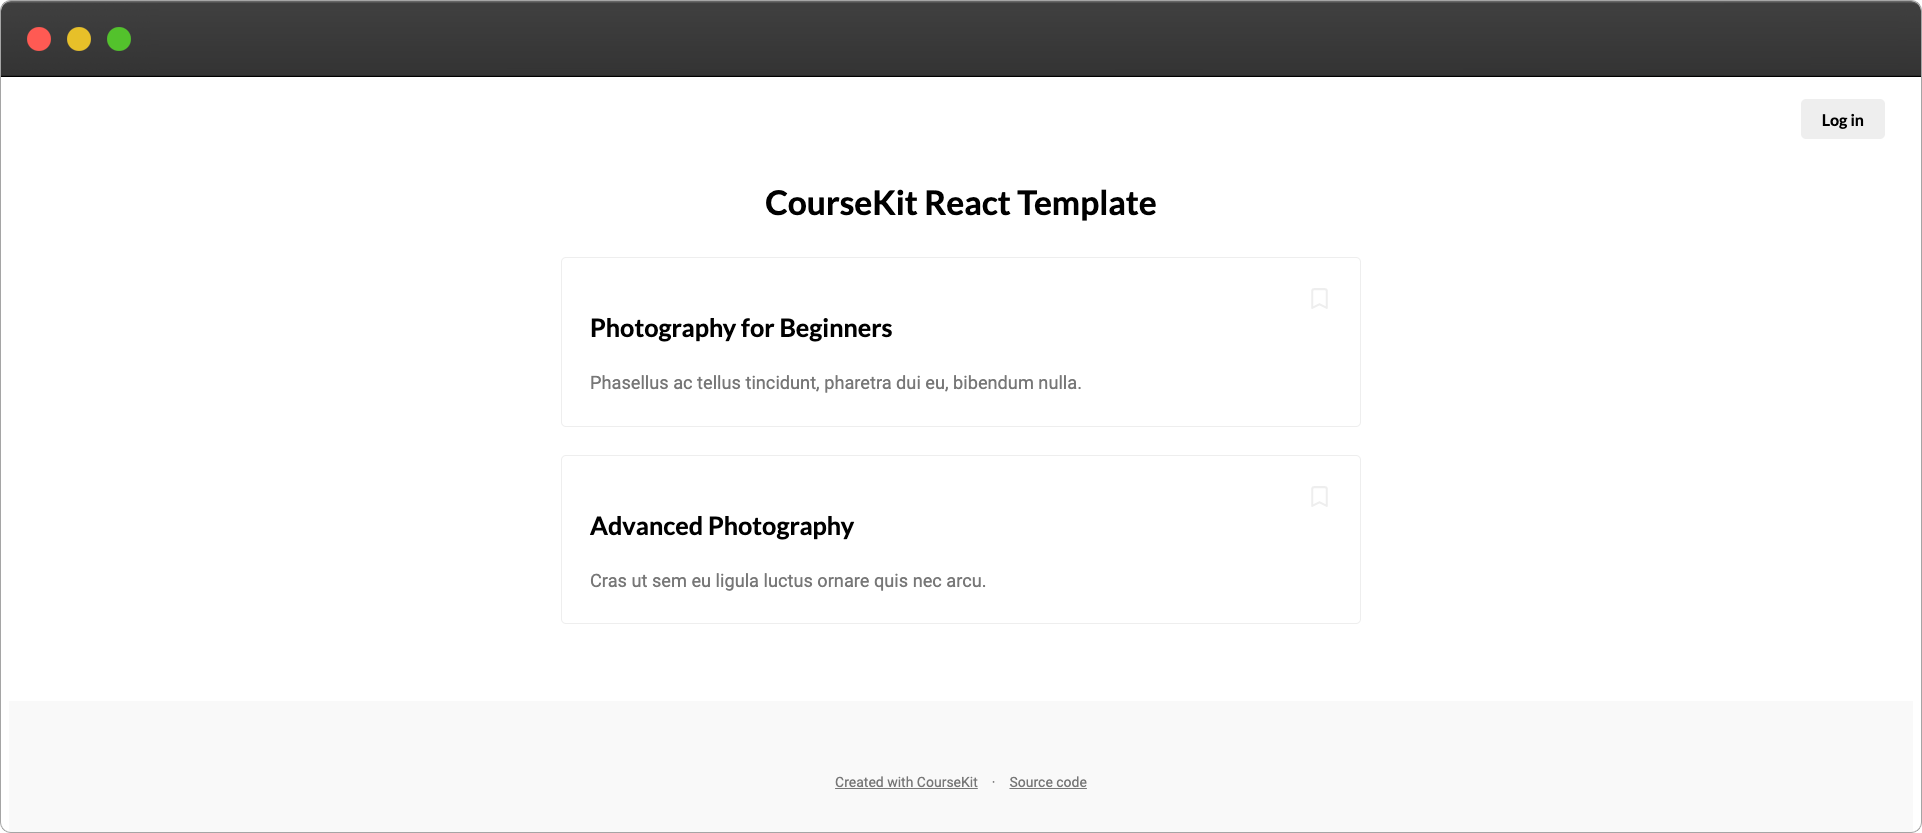
Site tour
You'll notice there are two courses already showing - Photography for Beginners and Advanced Photography. These are the two test courses that are automatically added to all new CourseKit accounts (later you can delete these from the dashboard or simply change their content to your own).
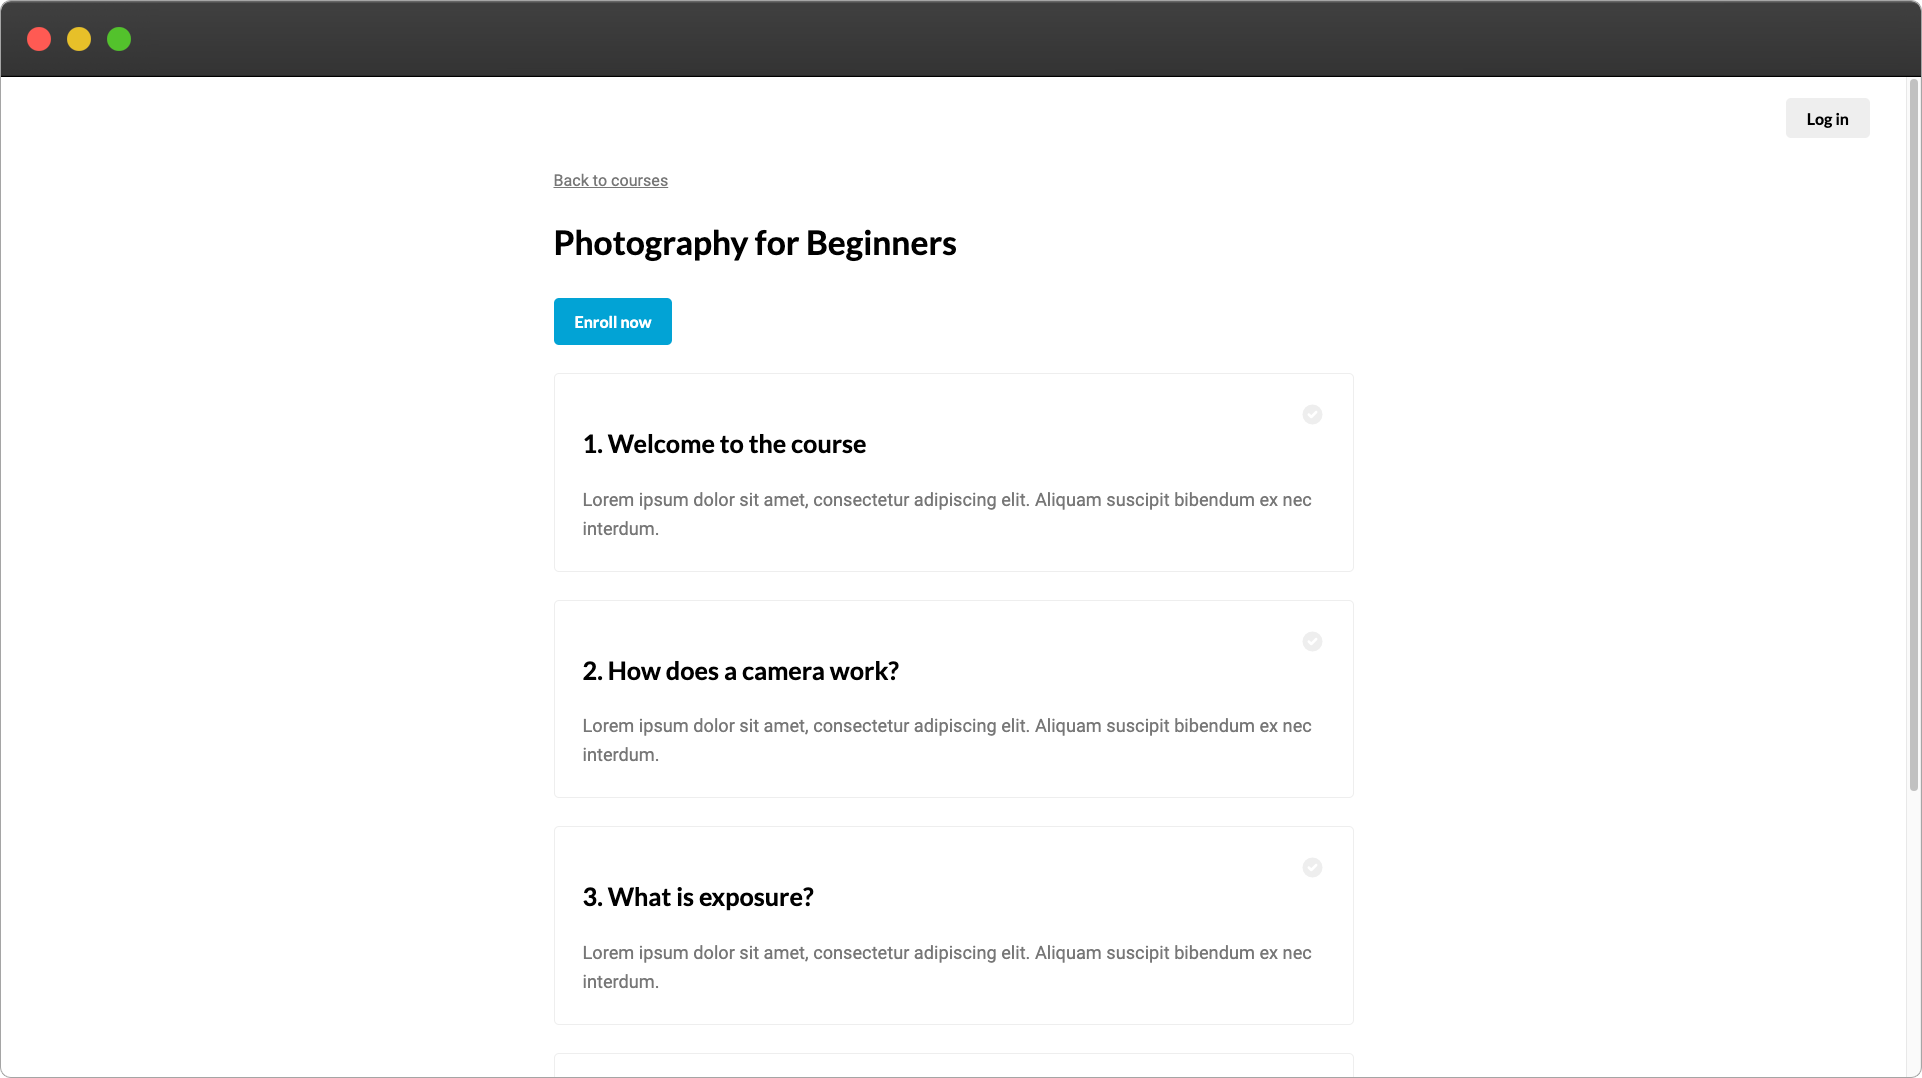
Go ahead and click one of the courses and you'll end up on the course page. Here you can see the test lessons.
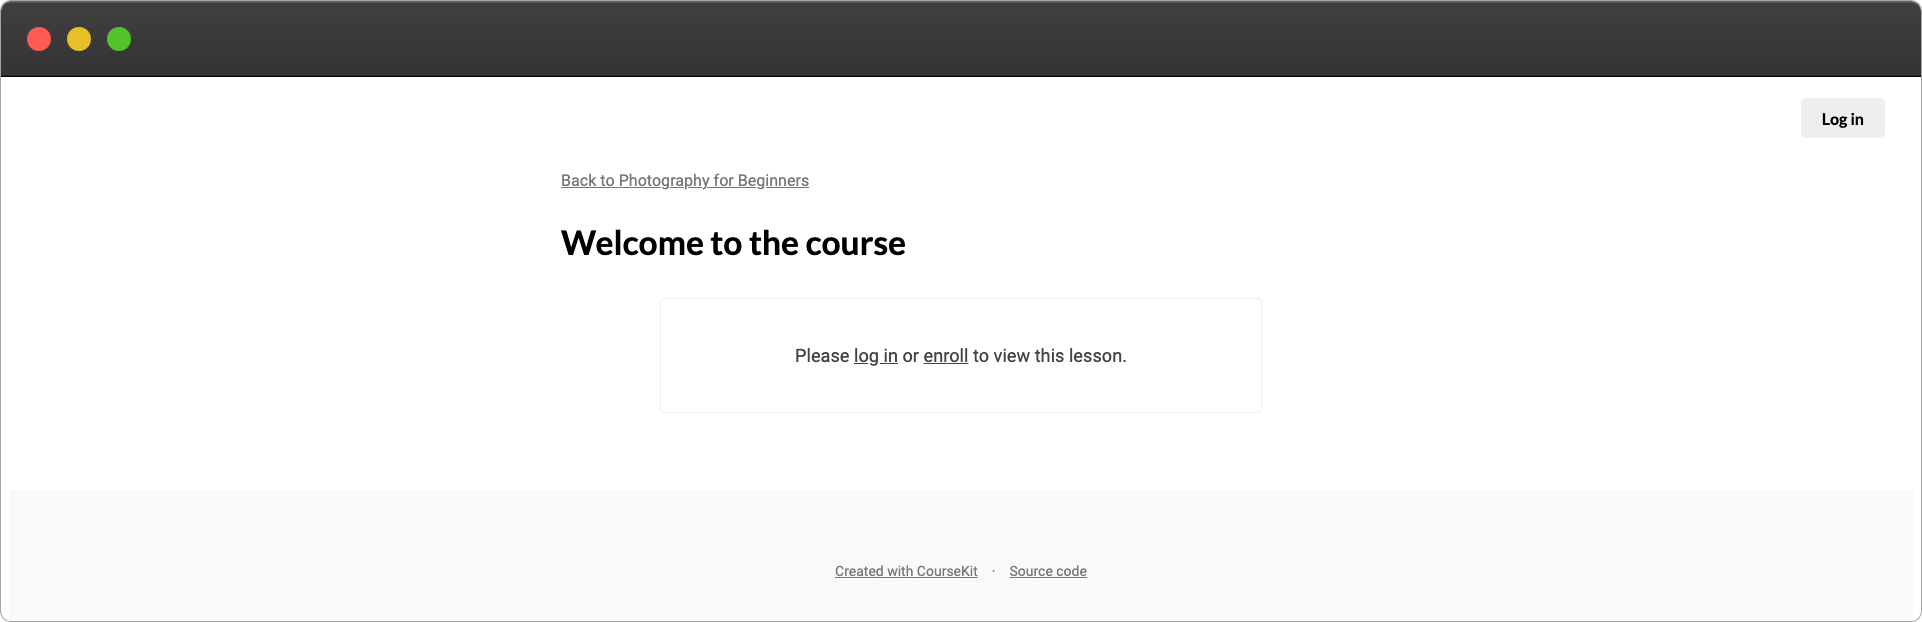
Now click a lesson. You'll see that you can't view the content because you aren't logged in!
Enrolling a student
CourseKit allows you to charge students to enroll in your course, but by default, your course will be free. So go ahead and click the Enroll link and you'll be taken to the registration page. Note that this page is not part of your course site as CourseKit handles authentication on your behalf.
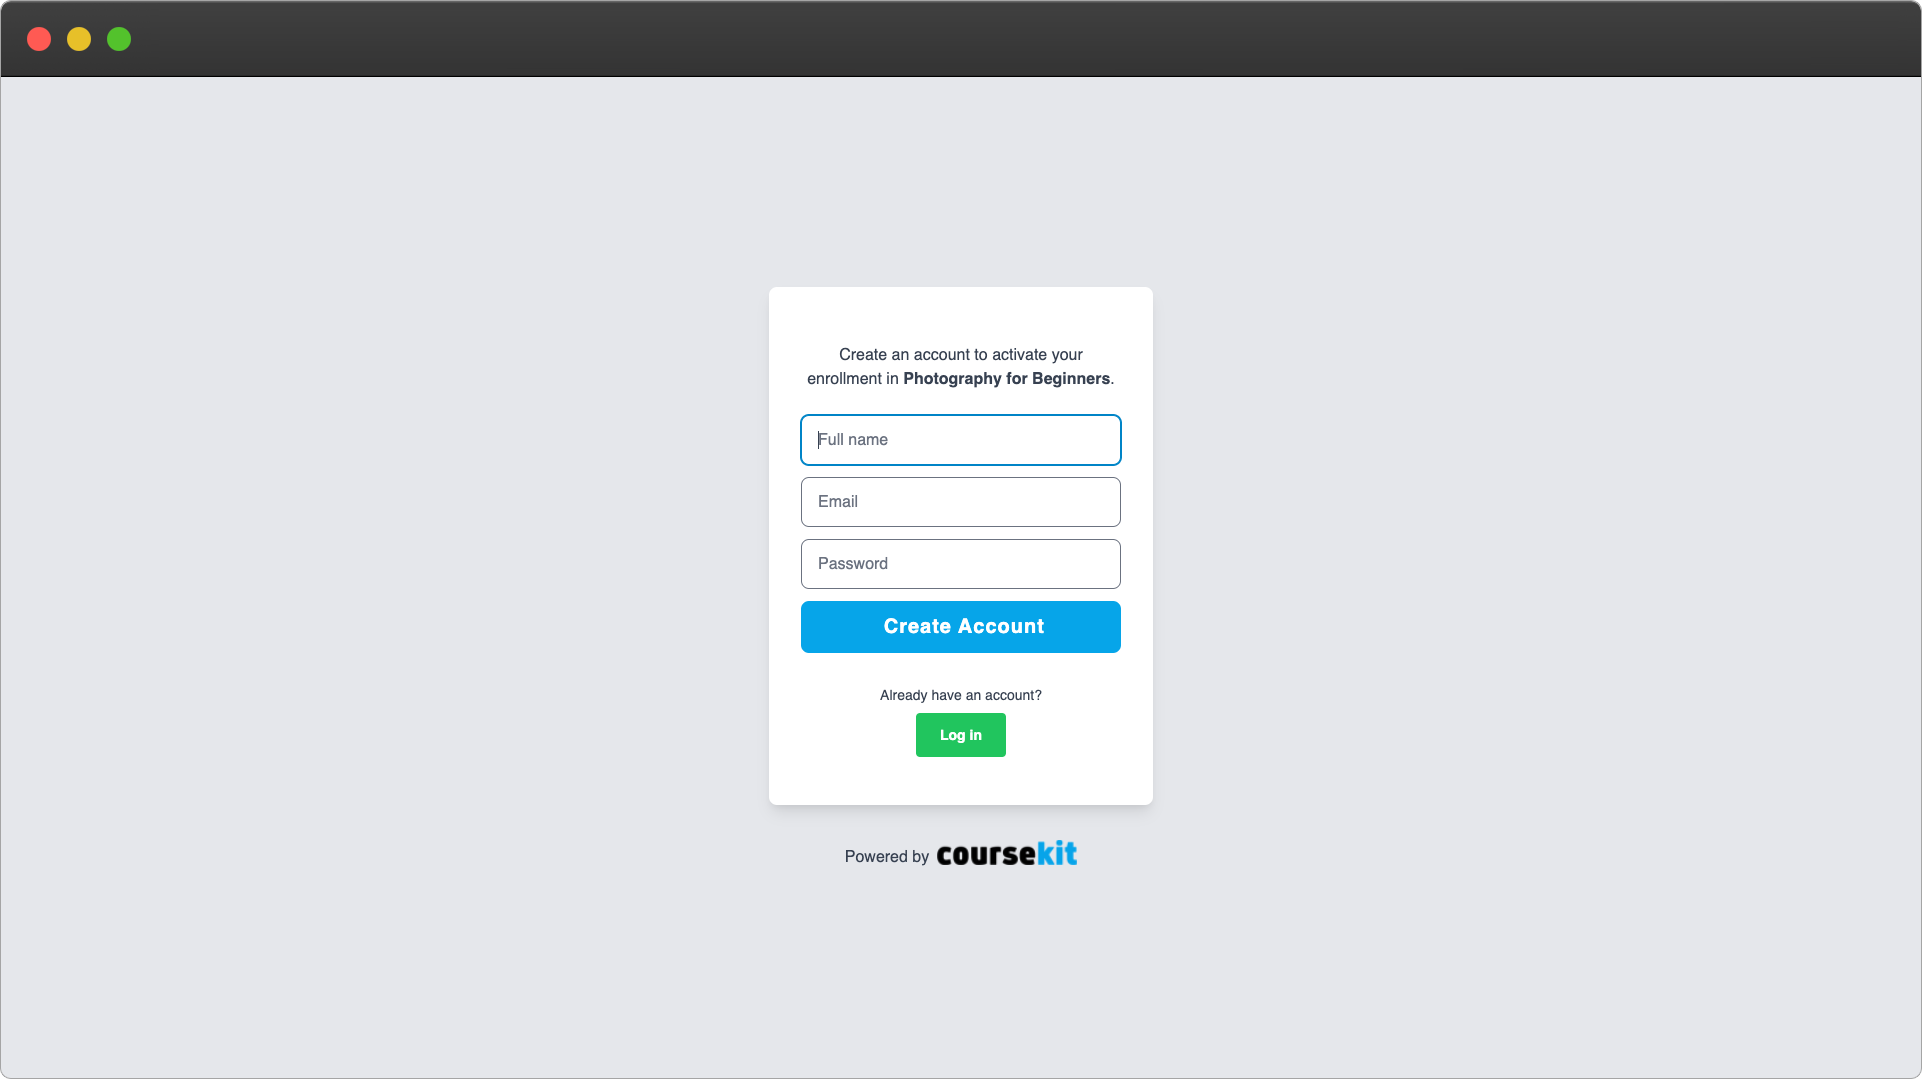
Go ahead and provide your details including a valid email address and click Enroll.
Assuming you configured your School URL in the previous step, you should be redirected back to the course.
Viewing content
The course page will show a Get started button for enrolled users. Go ahead and click it.
You'll be navigated to the first lesson. You can view all the content now on account of being enrolled!
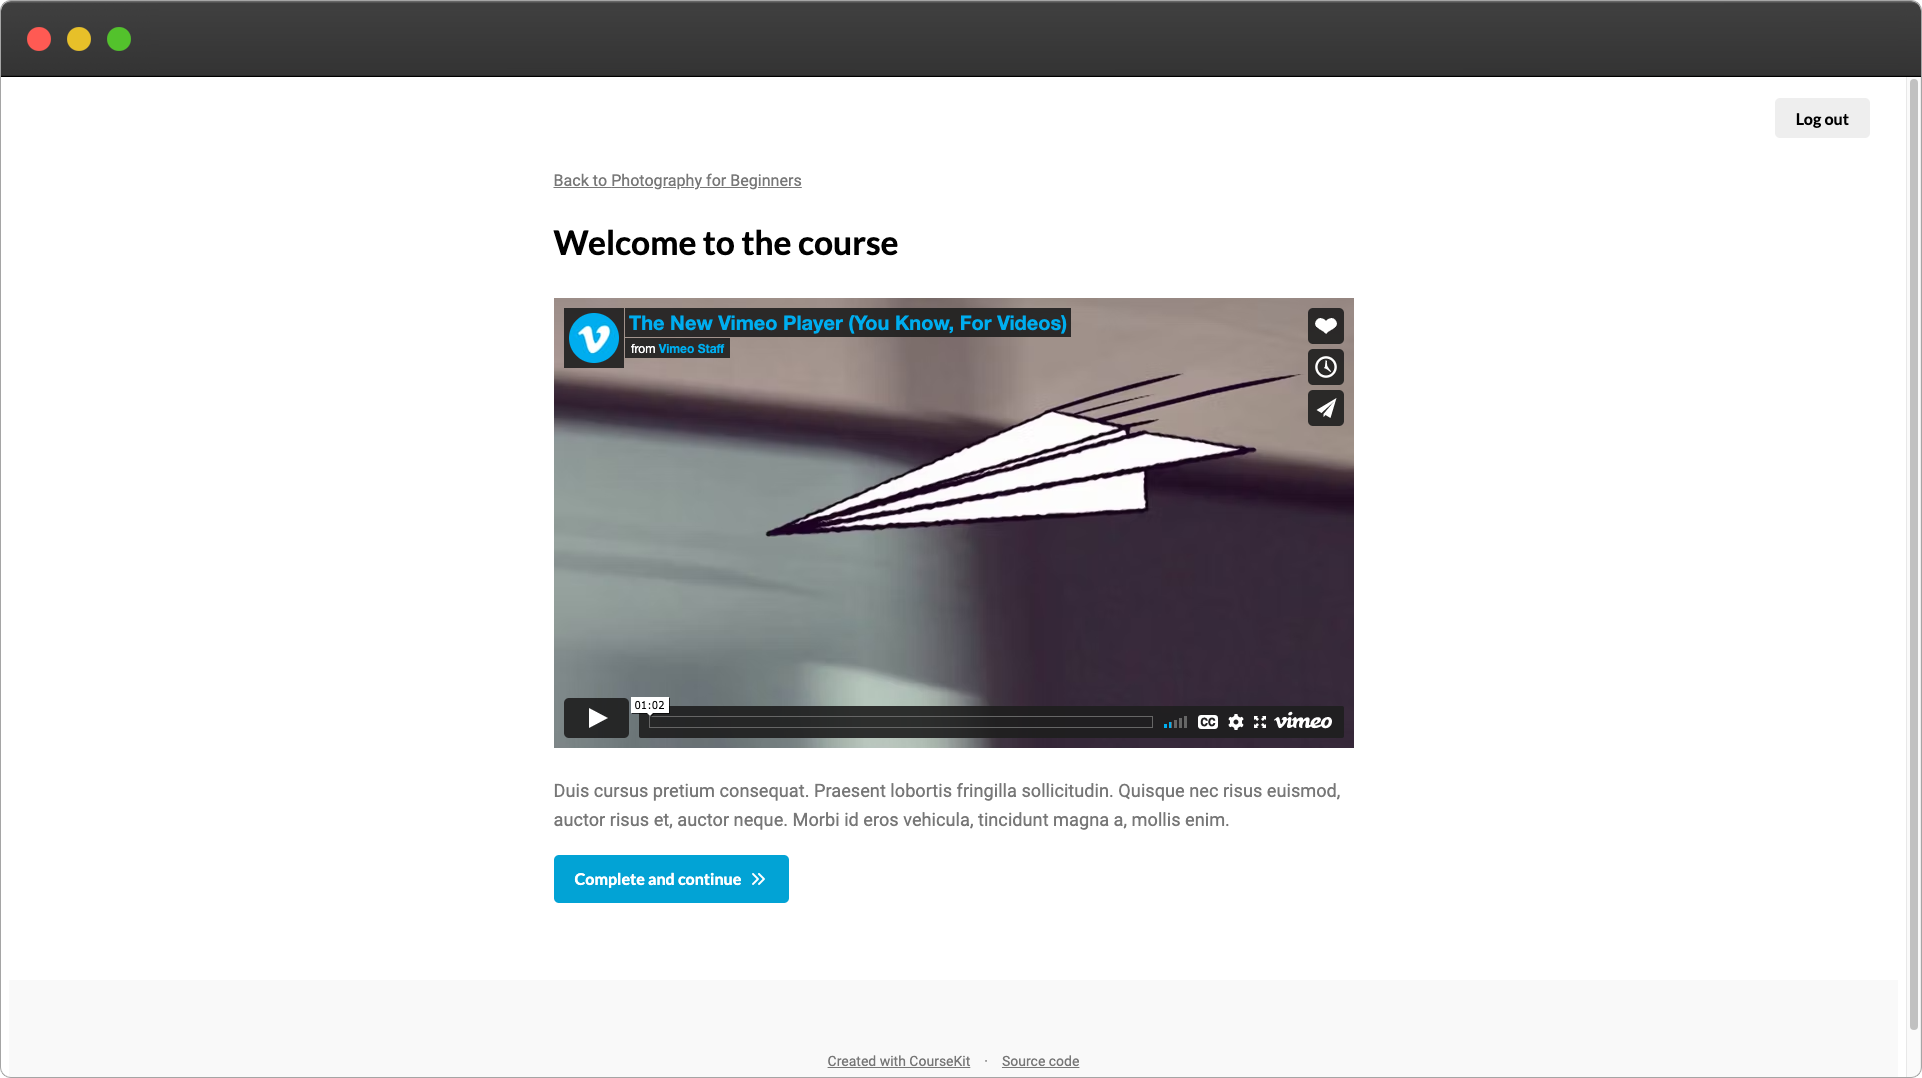
Click the Complete and continue button and you'll be taken to subsequent lessons.